2.6 Frame transfer in Showcontroller
There are several ways of implemention Frames from PicEdit to RealTime.
Option 1: CAT file
The most extensive is the CAT file, a collection of frames.
Click on the CAT symbol in PicEdit  and the CAT file dialog opens:
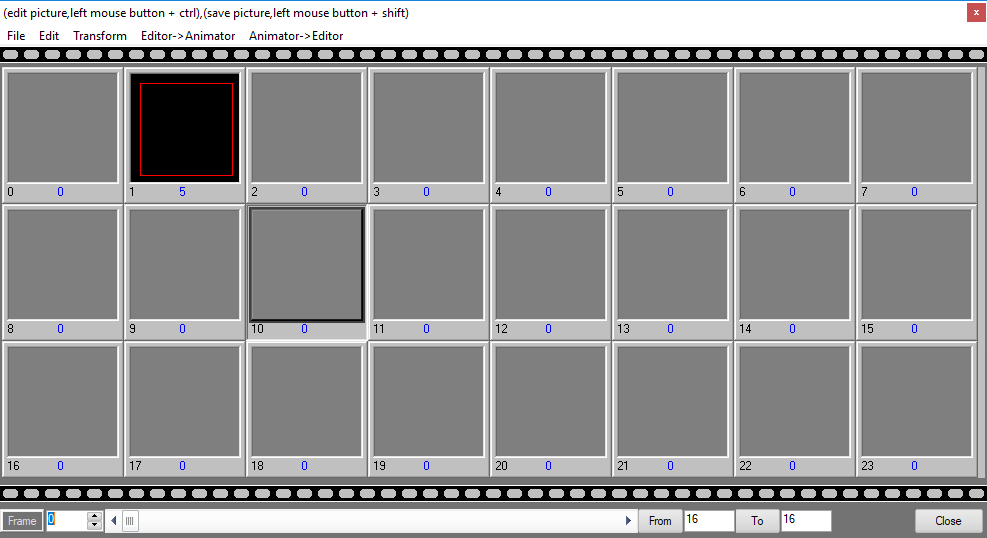
Select a free space, e.g. 10, and move the drawn frame to the CAT file by clicking on "Editor->Animator".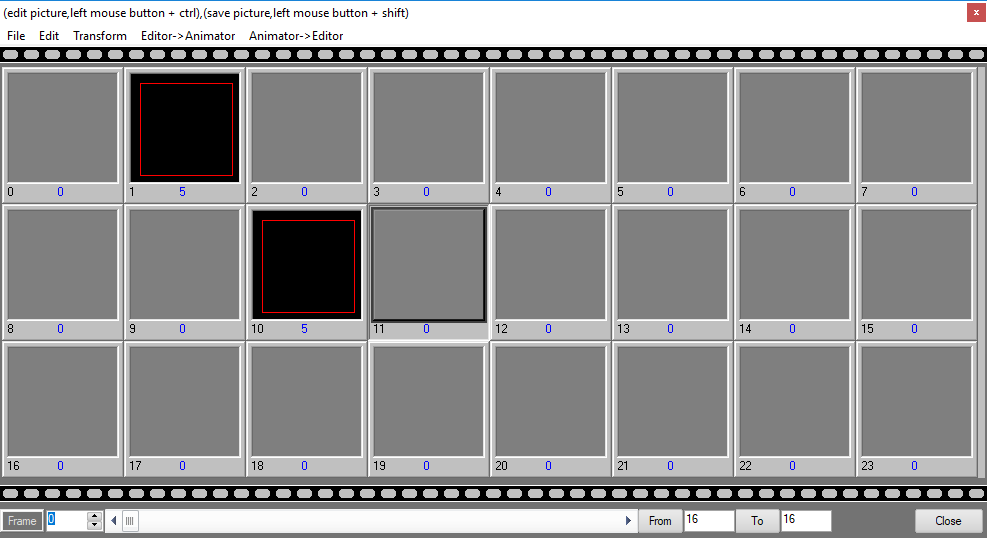
This file can then be saved, and also re-opened and extended later. Click on the same icon  in RealTime to use the CAT file there. A window opens that allows for opening the cat file with a click on the red button. The content becomes visible in the preview an the frames can be selected in a trickfilm:
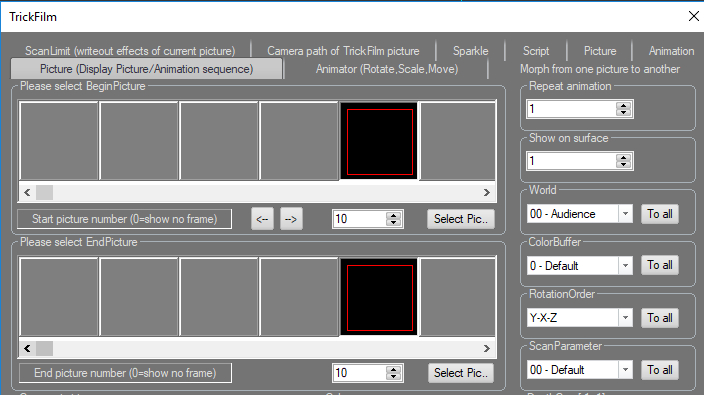
Thus all Pics are collected in one file, but this file can become rather large by time, which is a disadvantage as usually not all frames from the cat are used in one show.
Option 2: PicBrowser
The PicBrowser, described more in detail in 7.5. PicBrowser
Option 3: TempBuffer
This method is preferred by many users: The frames are shared between the program components via the temporary buffer (TempBuffer). Start PicEdit, draw a yellow circle and click on the icon "Send Pic to Temp" in the Toolbar.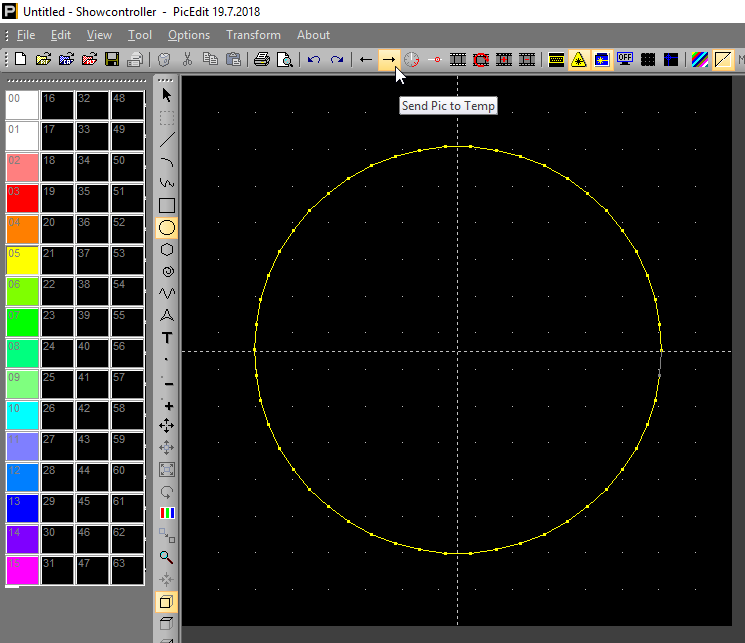
The picture is then saved to the temporary buffer. Switch to RealTime, right click at a free position and select "Add from Temp" in the showing menu. A trickfilm is created that contains the yellow circle.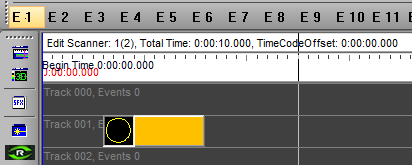
Option 4: TempBuffer via empty Trickfilm
This option also bases in the temporary buffer, but instead of directly creating a trickfiln, an empty trickfilm is placed in the timeline first. This is opened with a double click. The CAT is empty except for a CAT file has been loaded previously.
Select a free space in the CAT window, e.g. 20, and click on the red icon "Get from Temp":
The temporary Pic has then been inserted to the trickfilm on position 20 instead of the picture buffer. It is possible to exchange frames between PicEdit and RealTime with the features "Get Pic from Temp" and "Send Pic to Temp".


