3.1 Realtime interface | Showcontroller Manual

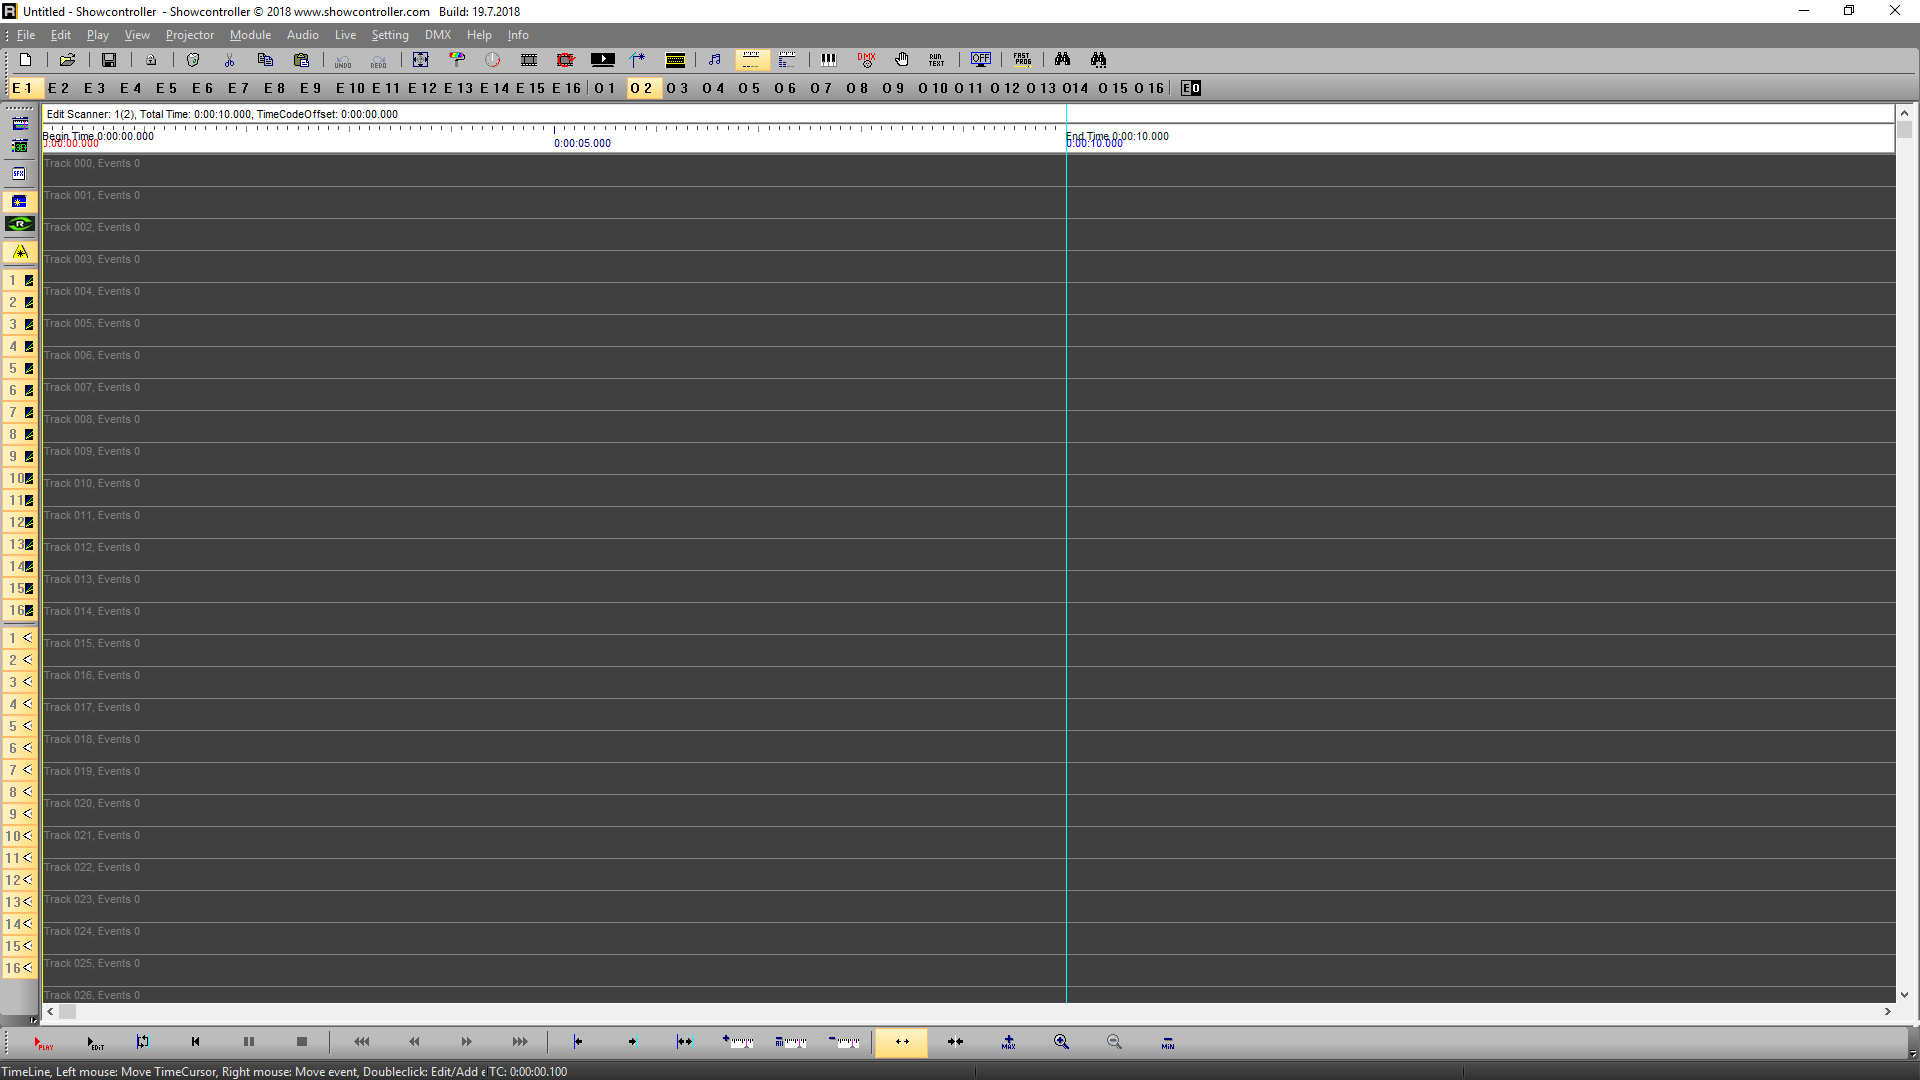
The RealTime interface has a clean structure.
The main menu can be found at the top. It gives access to options for file handling, modifications, settings, etc.
The Toolbar makes features quickly available by mouse click:
The Values E1-E16 (Edit Scanner, the scanner that is active for programming) and O1-O16 (Overlay Scanner, the scanner that is shown as overlay to ease the process of syncing tracks) specify the active Edit and Overlay scanner.
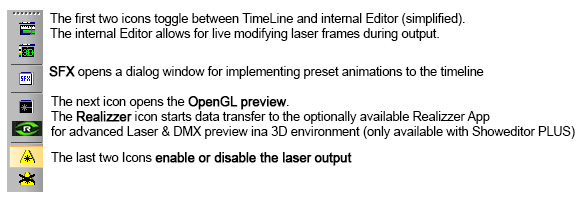
The Viewbar is on the left side:
The icons further down specify if the laser output in the preview window shall be a Beam show ![]() or a Graphics show
or a Graphics show ![]()
The PlayBar can be found at the bottom:
These are the basic play back features:
Play "red" plays the complete show from start till end.
Play "black" only plays the part of the show that has been specified with start and end marker.
The other icons are self explaining.
Playback part:
These buttons can be used to set a start and endmarker for the playback of the show. The laser icon sets the start marker at the beginning and the end marker at the end of the show.
Marker:
It can be helpful to use markers with certain events when programming. The first icon sets a marker to the timeline, the second icon deletes all markers. The third icon deletes the marker next to the actual cursor position.During playback it is possible to set markers by pressing the space bar.
Zoom:
Use these icons to zoom the view in and out. It's also possible to use the mouse wheel for zooming.


