7.5 ILDA import and export | Showcontroller Manual
The ILDA format is a common, open file format for transferring laser frames between different platforms / software progreams / playback systems.
The older ILDA format versions based on color tables, modern versions use RGB color values.
To correctly display older type ILDA frame ist is necessary to specify the correct color table. This color table must be available as PLA file.These steps explain how to color and potentially deconstruct an ILDA file in PicEdit.
Start PicEdit: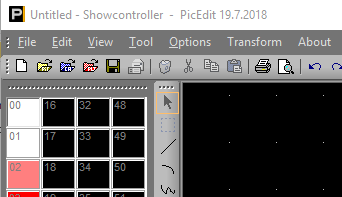
The loaded color palette is shown to the left. Double click on one of the colors and a dialog opens: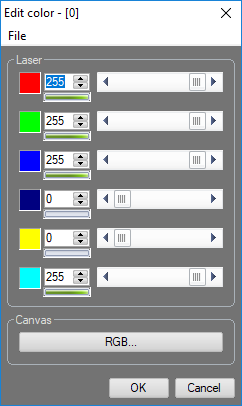
Use "File" -> "Open" to load either the included "ILDA.pal" or use any other custom PAL table.
After the suitable PAL table has been loaded, click on the CAT symbol  to open the CAT dialog.
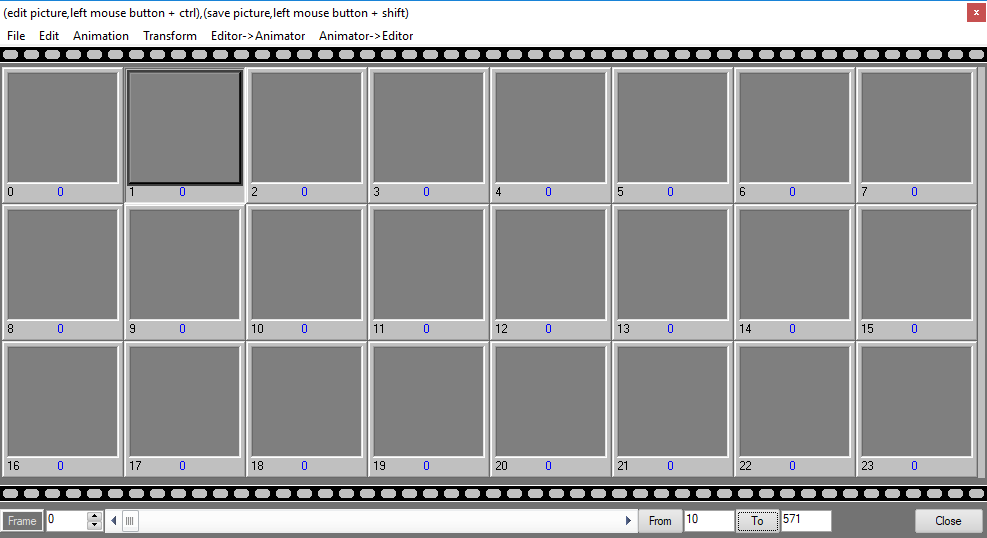
Click a free space to specify the start index for the import.
Then an ILDA file is imported, Click on "File" -> "Import" -> "ILDA":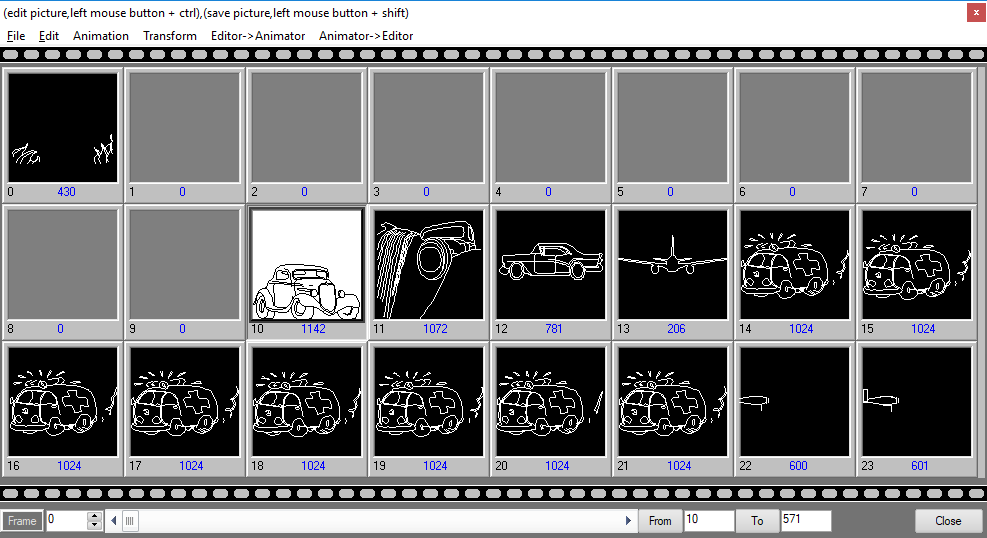
As it's an old ILDA file of format 0, that depends on pallette colors, but we're using the RGB color system, all frames are only shown in white. With a special feature it is possible to read the color index numbers from the frames and write the corresponding RGB color values to the frames.
Use menu "Animation" -> "Recolor all" and all frames become colored.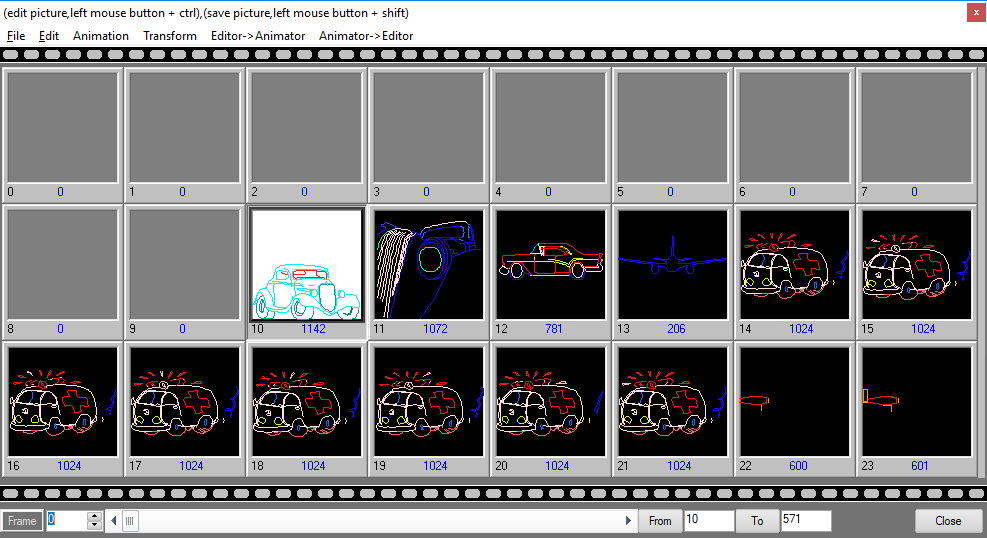
An ILDA file sometimes acts like a container and contains several single frames or animations. To not create unnecessary data it is possible to:
- save single frames as Pic file to use them in RealTime via PicBrowser (select and menu "File" -> "Save as Pic")
- save animations of several frames as Ani file. These frame sequences can then later be loaded to a Trickfilm event:
Click on "From" and "To" to set the start and the end frame for the animation. The number of the very selected frame is taken on a click on the very frame. In this example the animation should span from #14 and #21.
So, click on frame 14, click on "From", click on frame 21, click on "To" and click on "Animation" -> "Save "From" until "To" as ...". Save the animation.
Switch to RealTime. Place a Trickfilm event in the timeline and open with double click. Switch to the tab "Animation":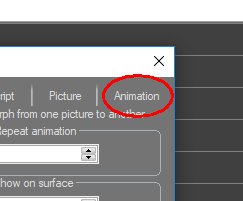
Click on "Load" and the .ani file that has just been saved: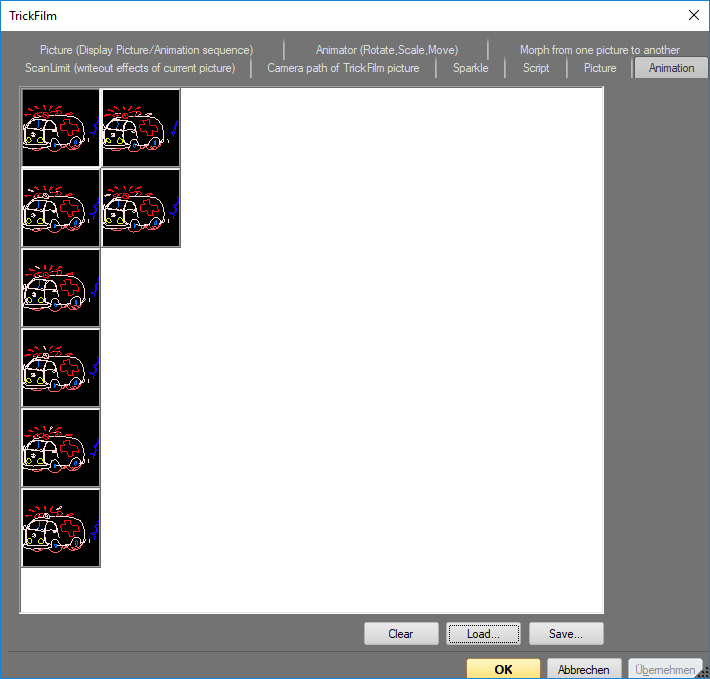
Close the window with OK and check the result in the OpenGL preview.


